17 Silly Mistakes Beginner Photographers Make
We’ve All Been There
There are some mistakes that almost beginner photographer makes and holds him back from seeing progress with his photography. I made them too and now I want to share my experience so you won’t do the same mistakes in order to see your photography skills improve. Here are 17 silly beginner photographers mistakes.

1. Not Taking Enough Photos
The first silly mistake beginner photographers make is strange. Back in the film days, you were limited to 30 something frames on a film roll. But nowadays we can take as many photos as our heart’s content. Without any constraints. Without any limitations – except the storage space on the SD card.
And if it gets full, you can delete, you can format and start over.
No limitations.
Now you have more than one chance to get it right.
Still, a very silly mistake that beginners photographers make is not taking enough photos.
When I was a beginner, I used to miss my exposure, my focus and my composition in most of the cases. The worst part is that I found out only at home when I had no chance of fixing my photos. Had I taken more pictures, I would have had a bigger pool to choose from.
If this is you, take this advice: shoot more photos, don’t limit yourself, you don’t have to. Don’t be silly like me.
2. Not Editing Your Photos
I know, digital cameras nowadays are shooting great photos and have great quality. But this isn’t an excuse to skip editing altogether.
There are some people who advocate for not editing with the purpose to “get it right straight out of the camera” and “keep it natural” – or something like that. They want to be like in the good ol’ days of film photography.
Well, if they think that the film days was no photo editing, they are naive. The legend photographer Ansel Adams was a master of the black room (read: film photo editing).
Photo editing and manipulation are as old as photography is. Not editing your photos is just holding you from developing a personal photography style.
But this brings me to the next mistake.
3. Editing Your Photos too Much
On the other side of the fence, there are people who just overprocess. Some of their photos look like they have been taken during a nuclear explosion and the subjects have nuclear waste on their face.
But this brings the question: when do you know when too much is too much. Well, it’s actually easy: when Earth looks like Venus or Jupiter, this is too much.
A quick guideline is this: if you work in Lightroom, just don’t bring saturation and vibrancy to the max. Also, don’t bring clarity to +100 or -100.
Even more simple: if it looks like it is too much, probably it is.
4. Not Sharing Your Photos
Photography is an art. Some are better, some are not. But if you don’t share the photos you take, you won’t receive feedback, and if you don’t receive feedback, you won’t know your strengths and weaknesses.
Show your pictures to other people. Show them to your family. Maybe show them to your friends. Show them to your colleagues. Show them to other photographers (professional or not) and ask for opinions.
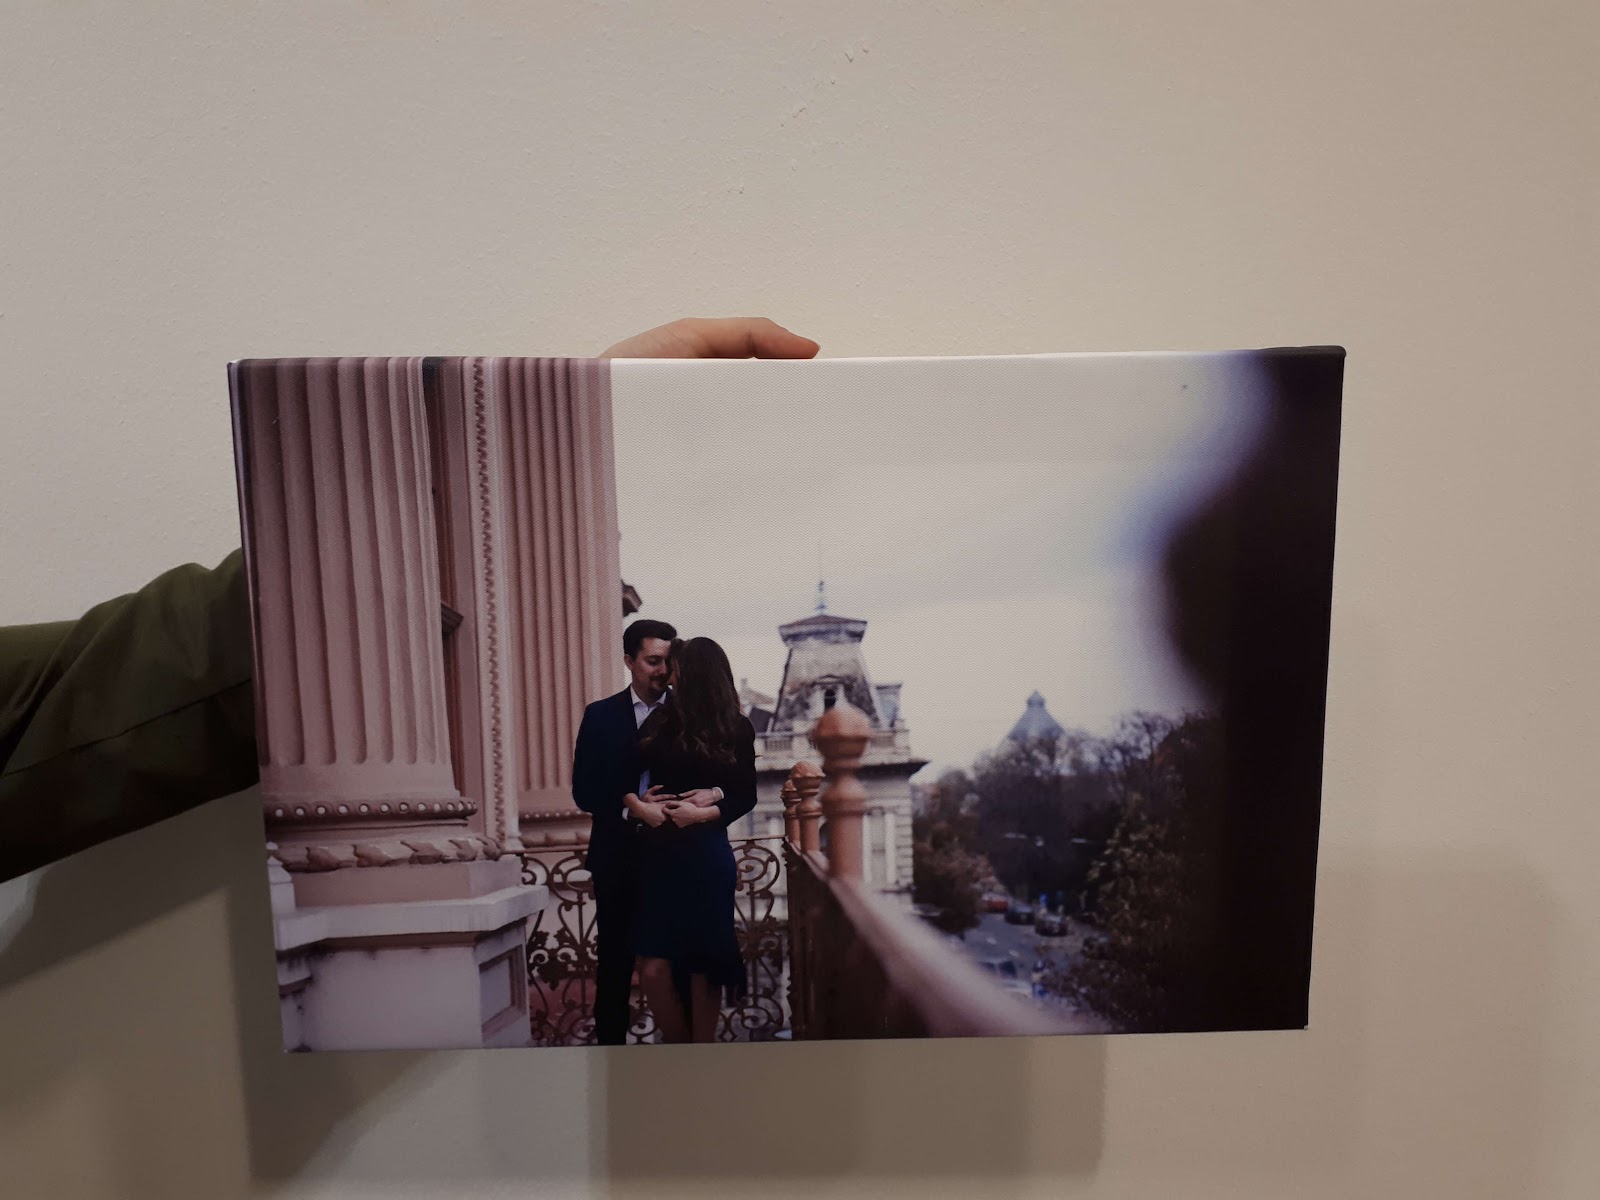
Here’s a cool trick: print your best photos and show them this way. Even better, print yourself a photography book. This way they will be more impressive, especially to those who are not photographers.
Print small size. Print big size. Hang pictures on your wall. Even gift a few of them. This is going to make you great publicity.
Here’s a photo me and my lovely fiance printed for one of my cousins as a wedding gift (she was the bride). Guess what? That was her favorite photo that we’ve taken then at a save the date photo shoot and loved the printed photo. What do you say? Win-win? Absolutely.
5. Not Using Rules of Composition
This one is straight. Good composition is pleasing to the eyes. A photo that uses even the most basic rules of composition will look better than one that doesn’t use any.
You can check the article I’ve written on the rule of thirds. Just learn how to use this rule first.
Learn about negative space. Get to know about leading lines. Learn about symmetry. Learning composition will give you a boost in your photography confidence and skills.
6. Not Mastering White Balance
This one is a bit complicated. Why? Because not all cameras have white balance control. Most of the entry-level digital cameras have a generic white balance setting (like “sunshine”, “indoors”, “fluorescent” and so on).
The white balance is measured in Kelvin degrees and it reflects how “warm” (yellow) or “cold” (blue) your photo is. For a couple of years, I did not know what this was.
In general, you want to go for a neutral white balance – that means the white should be white – this is why it is called white balance.
If your camera doesn’t have this setting, learn how to modify it in Lightroom (this is the topic for another tutorial).
7. Not Focusing on the Eyes
Another silly mistake I used to make is not landing my focus when taking portrait shots. The focus has always to be on the eyes. And if you miss is it is not considered “abstract photography”.
If you are taking portrait photos, use point focus and put it on one of the eyes. This way you won’t miss your potentially great shoot. I can’t tell you how many shots I’ve missed because I wasn’t paying attention to the focus.
8. Getting Camera Shake
Have you ever asked yourself why many of your photos look blurry? You may think it is the focus. It may be.
But it could also be camera shake. That happens because your shutter speed is too slow.
A basic rule is this: the shutter speed needs to be at least as fast as the lens is long.
So, if you use a focal distance of 100mm, then, if you want to avoid camera shake, your shutter speed has to be at least 1/100. If your focal distance is 50mm, your shutter speed has to be at least 1/50.
This way you’ll avoid undesired camera shake.
If you fixed this but your photos are still blurry, you might have the following problem.
9. Not Cleaning Your Lens
One day I was confused on why all my photos were blurry.
I thought it was the focus. It was not.
I thought it was the camera shake. It was not.
Turned out that my lens was just dirty. Haha – how silly of me.
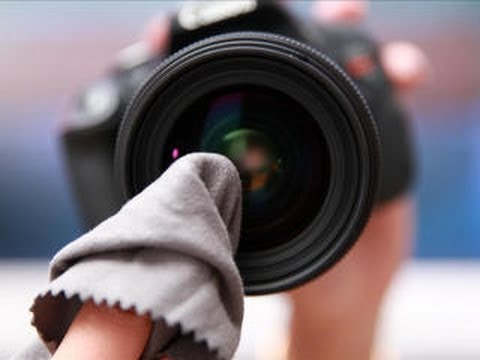
Just clean your lens with a tissue and this should solve the problem 🙂
10. Not Shooting Raw
Shooting raw might be intimidating. High photo size. You have to edit them. I didn’t shoot raw at first. But I turned to raw pretty quickly.
A raw photo has way more details in it. You can edit it more freely, you have more flexibility in post-processing.
And you don’t have to edit every single one of them.
Start shooting raw now and get used to the process as fast as you can. You’ll thank me later.
11. Not Taking the Camera With You
It is interesting. Sometimes we say we are photographers, but we are not taking our camera with us. This is strange and silly.
Just take your camera with you. This way it is easier to take photos and gradually it will come handier to you.
If you take more photos daily, you will grow faster as a photographer. And this is what we all want.
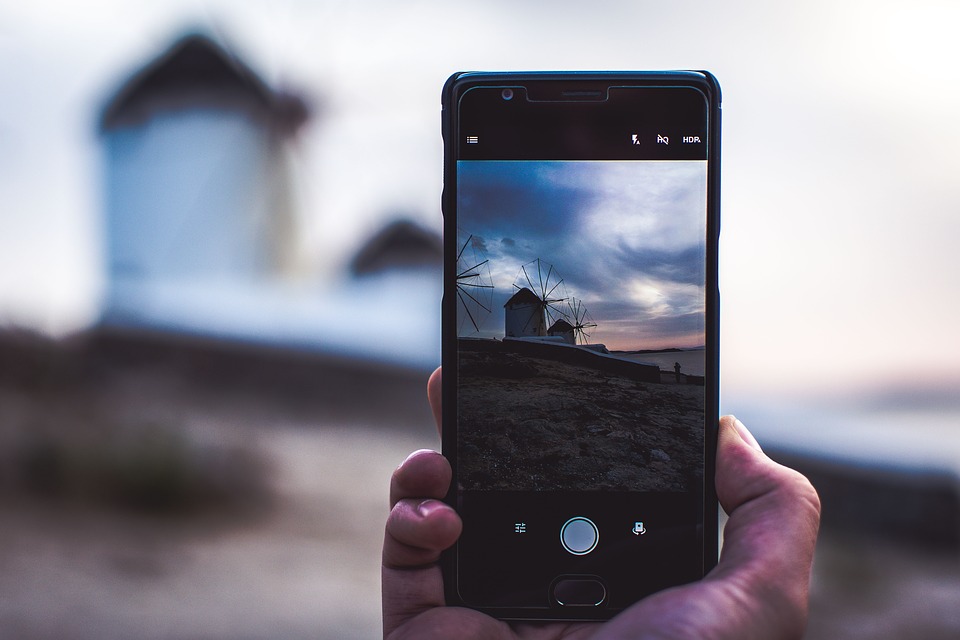
12. Shooting Only With Your Camera
This might seem counterintuitive and contrary to what I’ve just said before. But don’t shoot only with your DSLR or your mirrorless. Use your phone too if you don’t have your camera with you.
Don’t use this as an excuse: “I take photos only with my camera”. Take photos with everything.
And yes, I know a phone is limiting. But limitations are a great way to get better at photography.
13. Not Holding Your Camera The Right Way
How do you hold your camera? This might be another reason why you have camera shake.
Use both hands to hold it and have your left hand supporting the lens from under.
Then, tuck your elbows into your body.
If it helps you, exhale when you are about to shoot.
Also, don’t forget to put your feet firmly on the ground.
This way you will have better stability when taking photos.
While we’re still talking about stability.
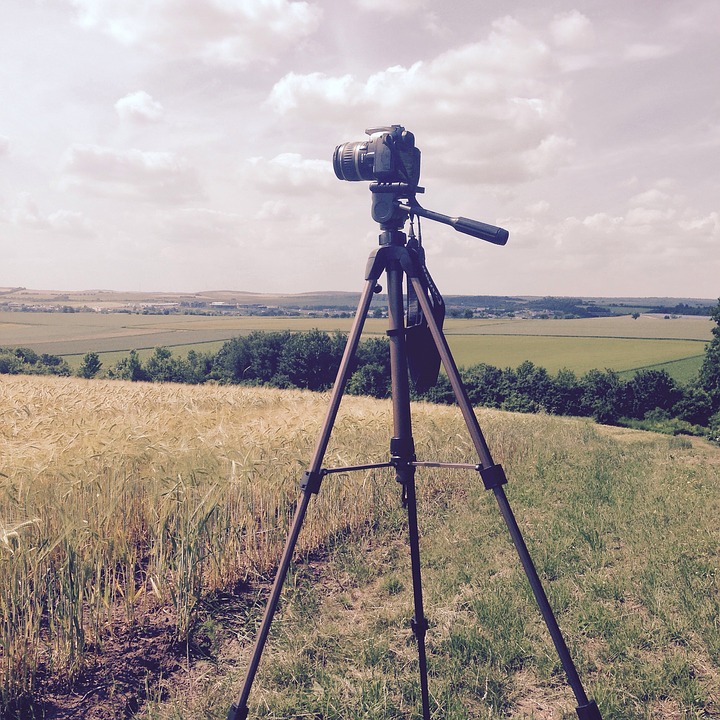
14. Not Using a Tripod When Taking Landscapes
A tripod is one of the best assets you can have, especially when it comes to landscape photography. I know that a sturdy one can be heavy, but it is useful.
If you put your camera on a tripod, you have the advantage of going to your camera’s base ISO and then using a shutter speed that you won’t be able to use if holding your camera. This way you’ll get better quality photos.
15. Having Trees or Poles Growing Out of Your Subject’s Head 🙂
I know the feeling. You have a great portrait photo, you go home, you open your favorite editing software and surprise, all your photos are like this:

Or like this

You get the idea.
This is one thing you really want to avoid. You just have to pay a little bit more attention to the surroundings when taking photos – just double check your background. And you’ve got your problem solved.
16. Be a “Natural Light Only” Photographer
There is another kind of brave people out there. They say they are “Natural light only photographers”. I used to think that way too.
Sometimes it is easy to shoot in natural light. But some other times, harsh natural light can be a real pain.
Learn to use a flash. It will help you a ton.
17. Not Learning How to Use Your Camera
I kept this for last. This is a silly mistake that even professional photographers make. They don’t know how to use the camera. And I’m not talking here about the aperture – shutter speed – ISO triangle here.
This is just basic stuff.
I’m talking about the more advanced stuff that your camera (even if it is an entry-level one) can do. All the focus modes. The bracketing. Shooting modes. Exposure compensation. These are exceptionally useful tools that all of us have to learn to use.
Learn your camera from the inside out. Know it so well that you could change any setting even in your sleep. This way, next time you are in the middle of a photo session you won’t have to take your eye off the viewfinder in order to change some random setting. Trust me, it helps a lot.
So, these were17 silly mistakes that I made and most probably you’ve made too. Hope that you enjoyed reading the article at least as much I’ve enjoyed writing it. Have you made other mistakes? Tell us about them in a comment down below.
Did you find the content here helpful? If yes, I would kindly ask you to join my Patreon page and support the future of this website.